3 Ways to Display a Product in Images for Social Media
The Blog
3 Ways to Display a Product in Images for Social Media

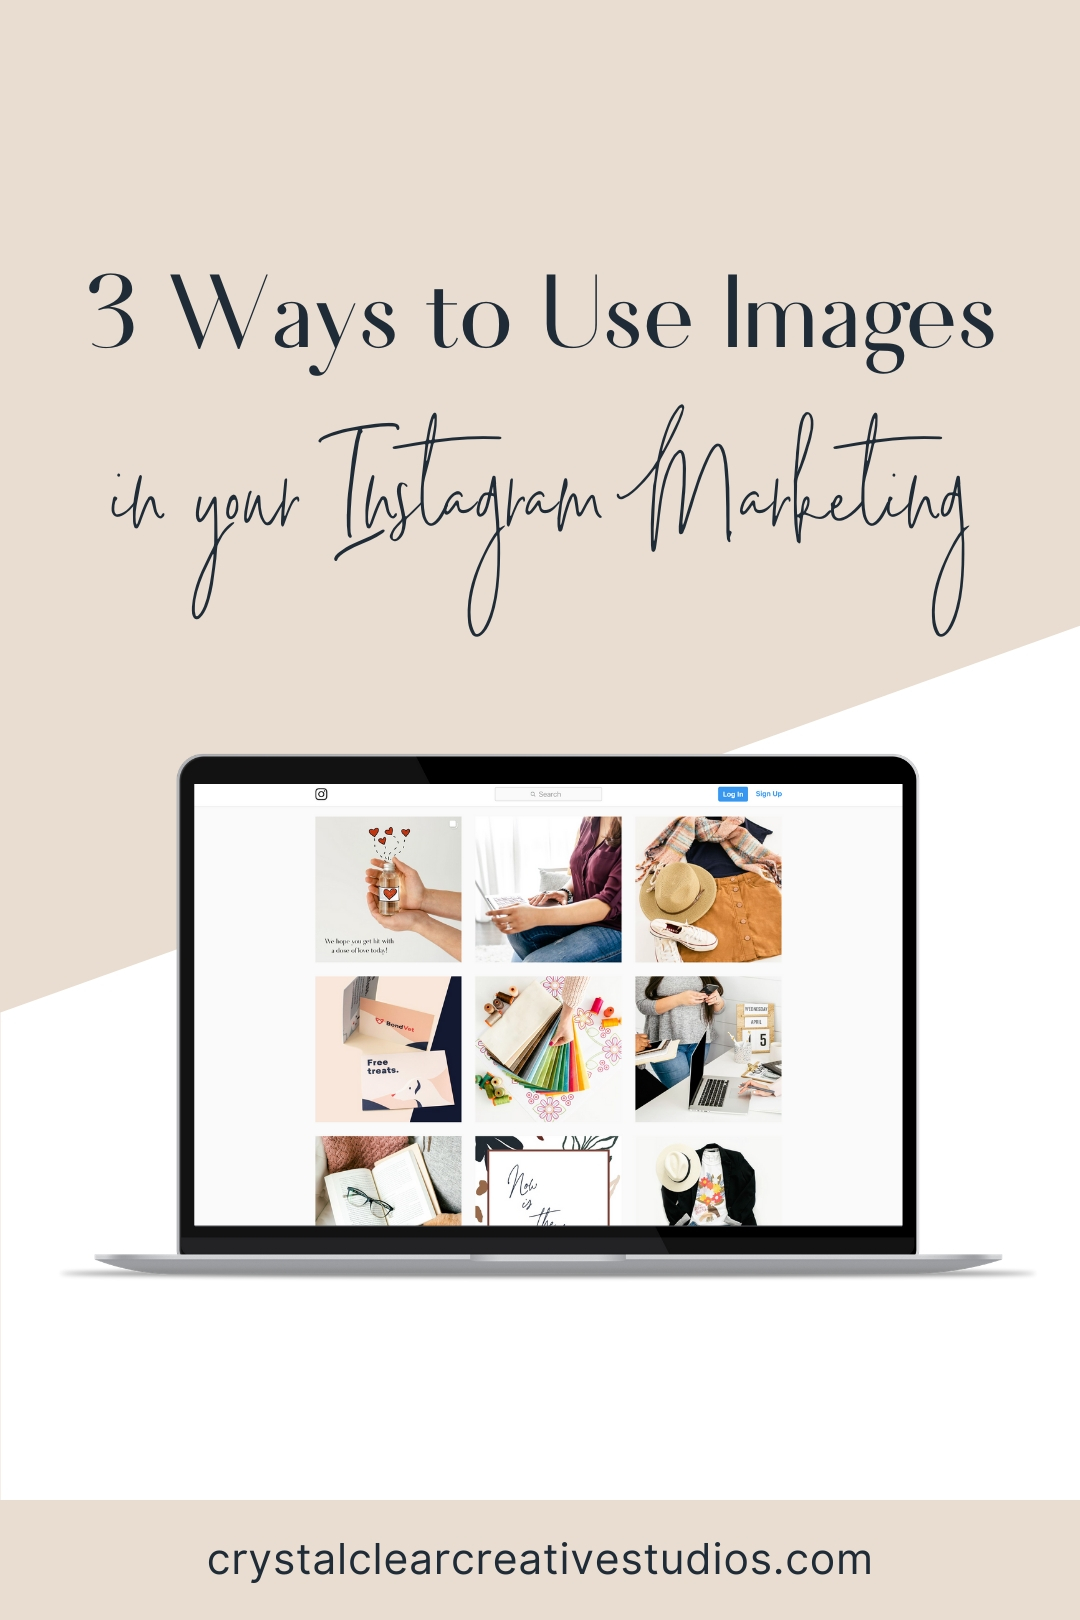
Social media is one of the best marketing resources you can use as a business owner.
I
f you’re not already utilizing social media in your business, it’s time to get on it, friend. Social media is one of the best marketing resources you can use as a business owner. It’s a FREE and easy way to showcase your products while sharing your brand message with your customers.
Before you take your photos, know exactly what it is you want to sell and how you want to sell it. When you understand your customer’s journey, it’s easier to provide them with what they need. This also allows you to tell a visual story in a way that appeals to your ideal customer. There are many ways to capture your product in its best light so I thought I’d share my top 3 ways to strategically display your product in images for social media.
Artistic Label & Product Display
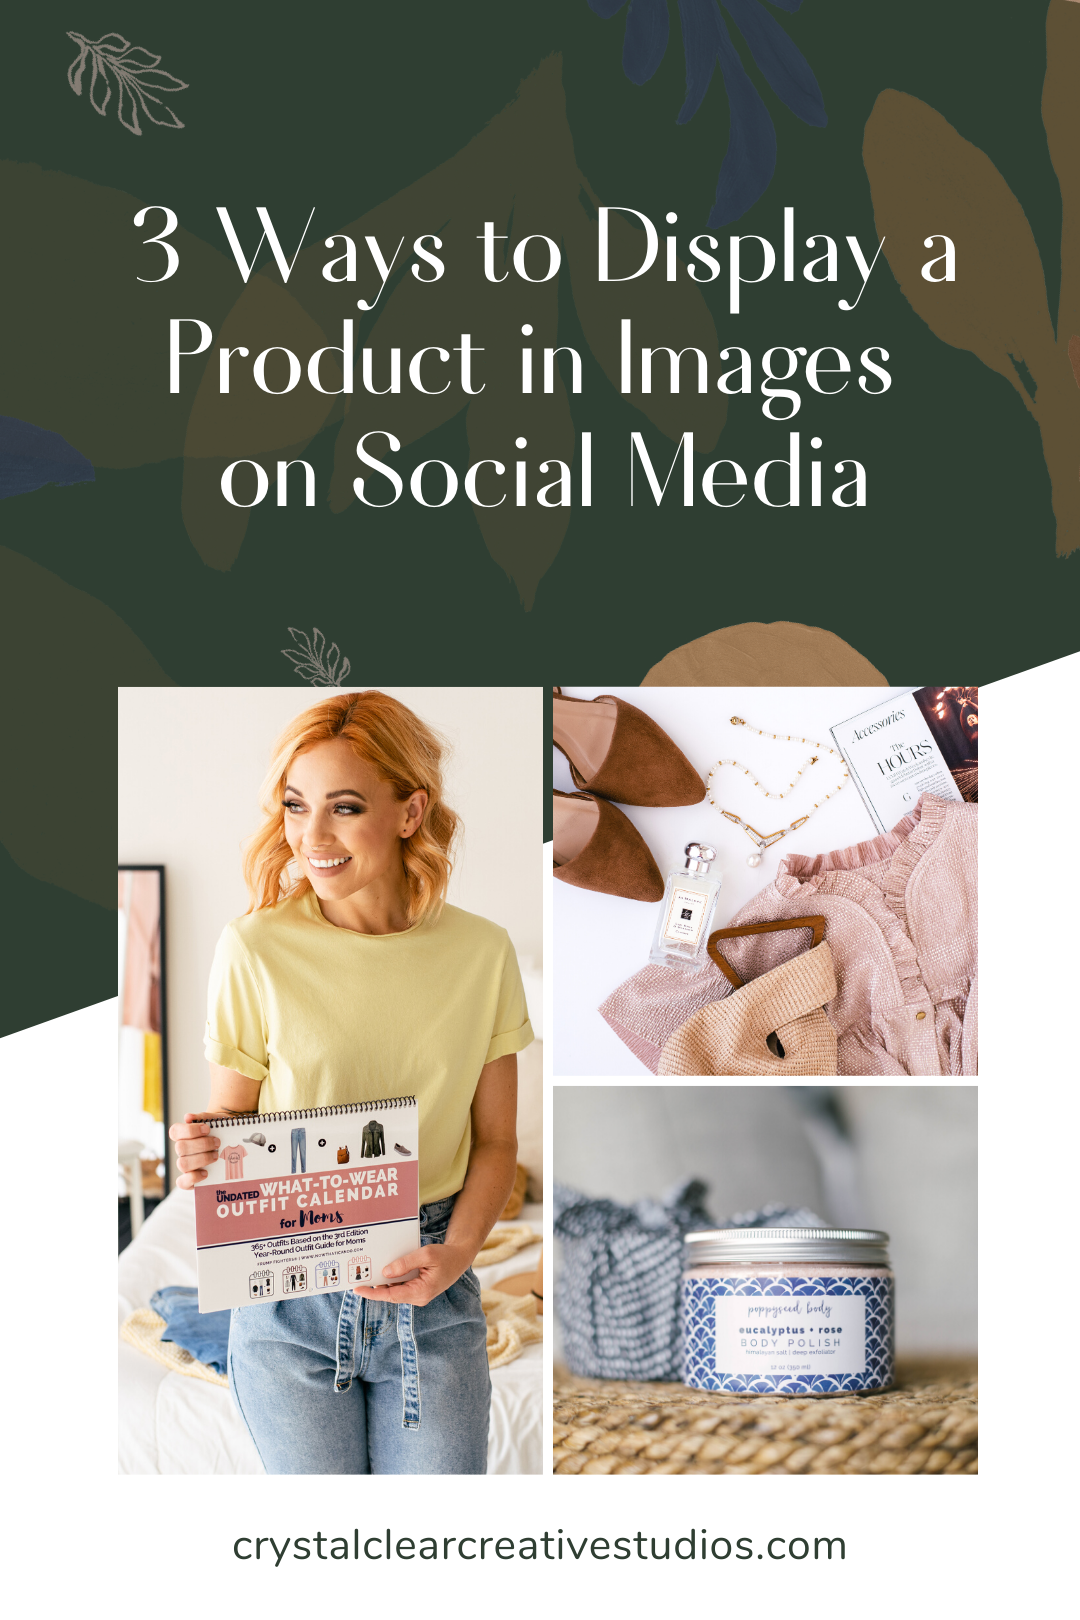
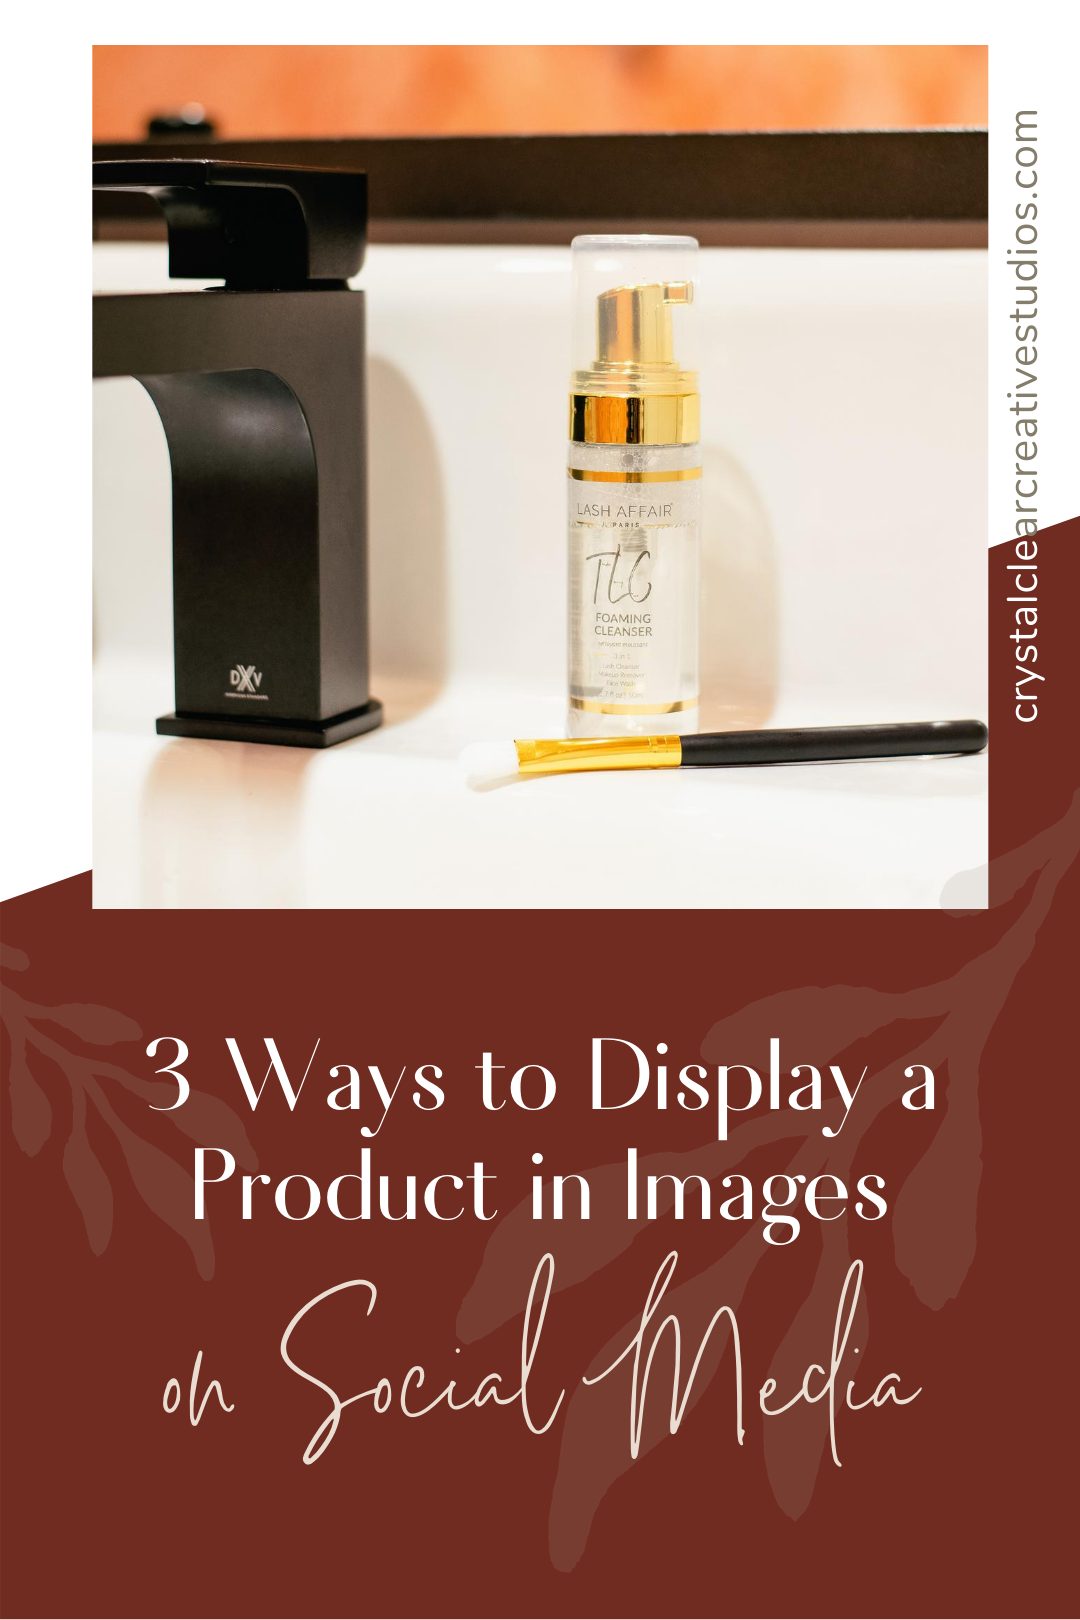
While you want your product to be the main thing you present in your photos, don’t be afraid to show off your artistic labels and displays. Use this opportunity to flaunt your cute packaging and decorative labels along with your valuable product. Give your customers an idea of what they can expect when they purchase from you. Advertising the little pieces that make your brand unique is a great way to share your brand’s message, style, and personality. Your current and potential customers will appreciate your transparency.
Consider this – display 3 to 5, of the same type of product in one photo. Sticking with odd numbers adds visual appeal and make it easy to direct the eye to where you want it to go. I teach this method in the Flat lay Method e-course. This is especially popular for website banners. Mixing a display of various products allows you to market different things at once. You can also utilize this strategy if you’re selling a full package of products and you want to show what’s included when someone makes a purchase. The clearer you are about your offer, the less confused your buyers will be about you and your product.
Lifestyle
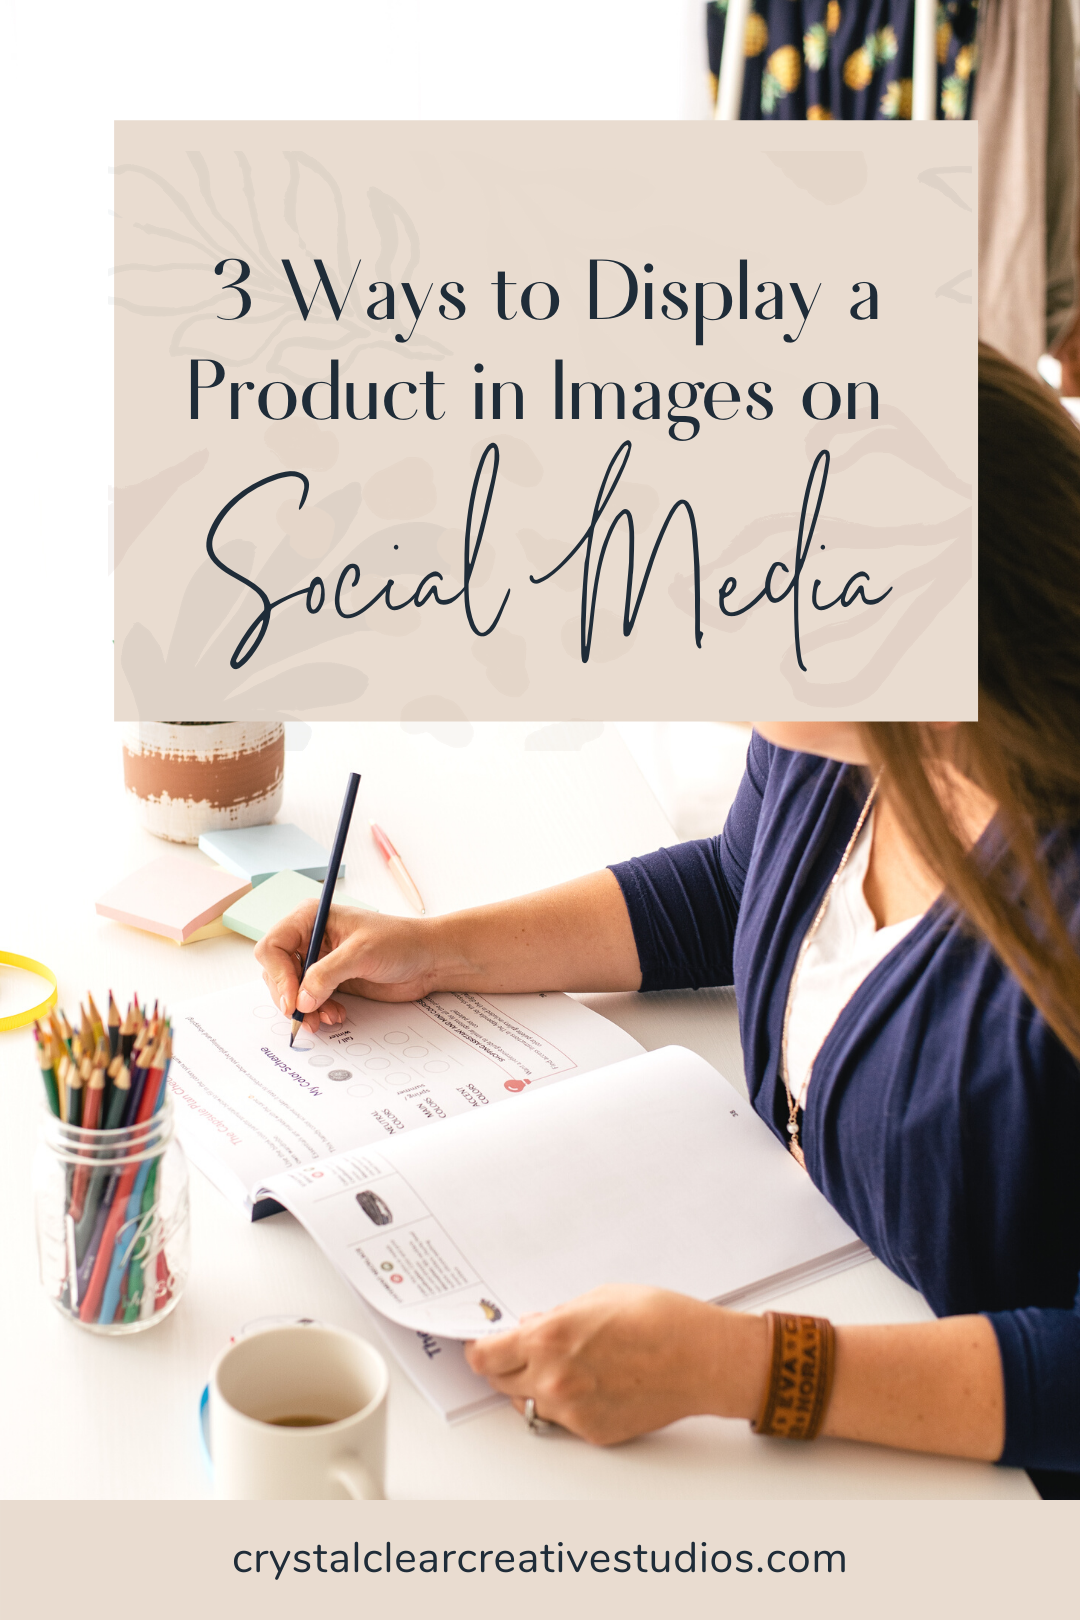
The second way to display your products in images on social media would be by using models and implementing the “lifestyle” look. A good example of this would be to utilize a model’s hands to hold your product. It’s one of my favorite techniques to show the texture and application of the item you’re selling. The hands, more specifically, because you can get in closer to the product itself while also tying in the human element.
Models are a great way to add the human element to your photos. Remember – people build connections with other people before they decide to buy a product. Your customers could love what you’re selling, but if they can’t relate to you or your product, they won’t buy. Models add that extra touch needed to make your product more relatable. Don’t forget to mix it up. You don’t want all of your photos to be closeups of your product and some hands. Instead, have the model show emotion with their face, body language, etc. all while using your product. Your photos are all about telling a story, so incorporate relatable elements that will give your photos the upper hand (literally).
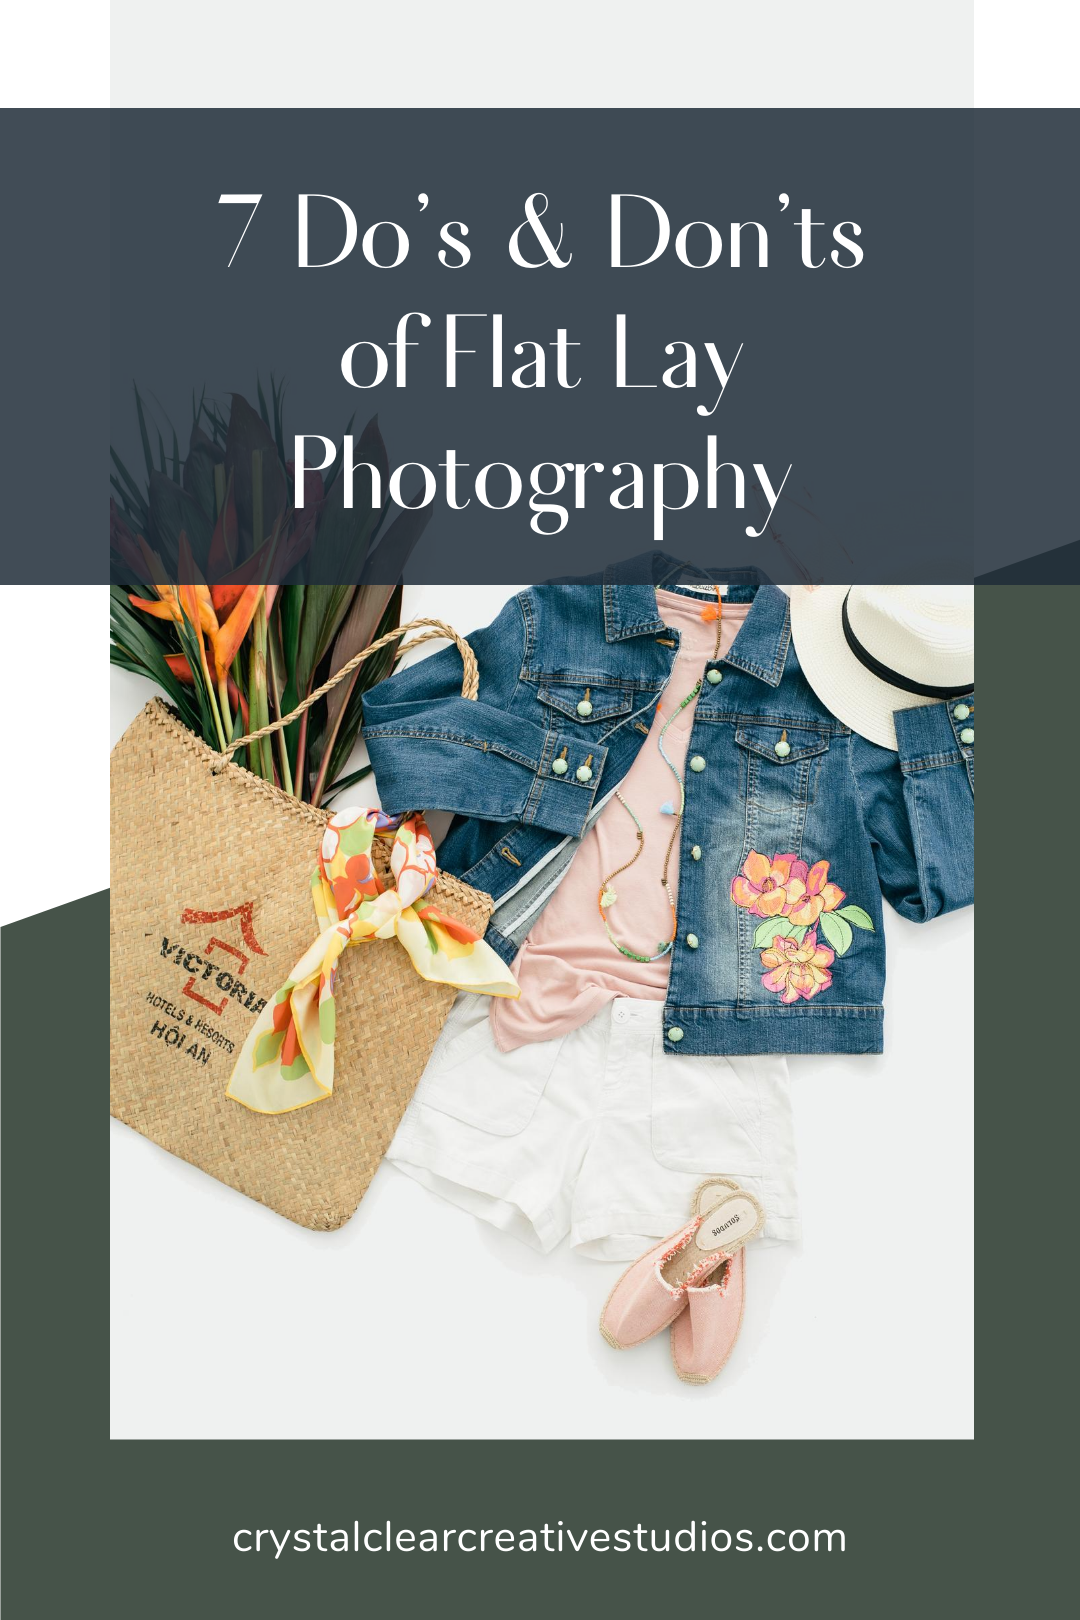
Flat-Lay
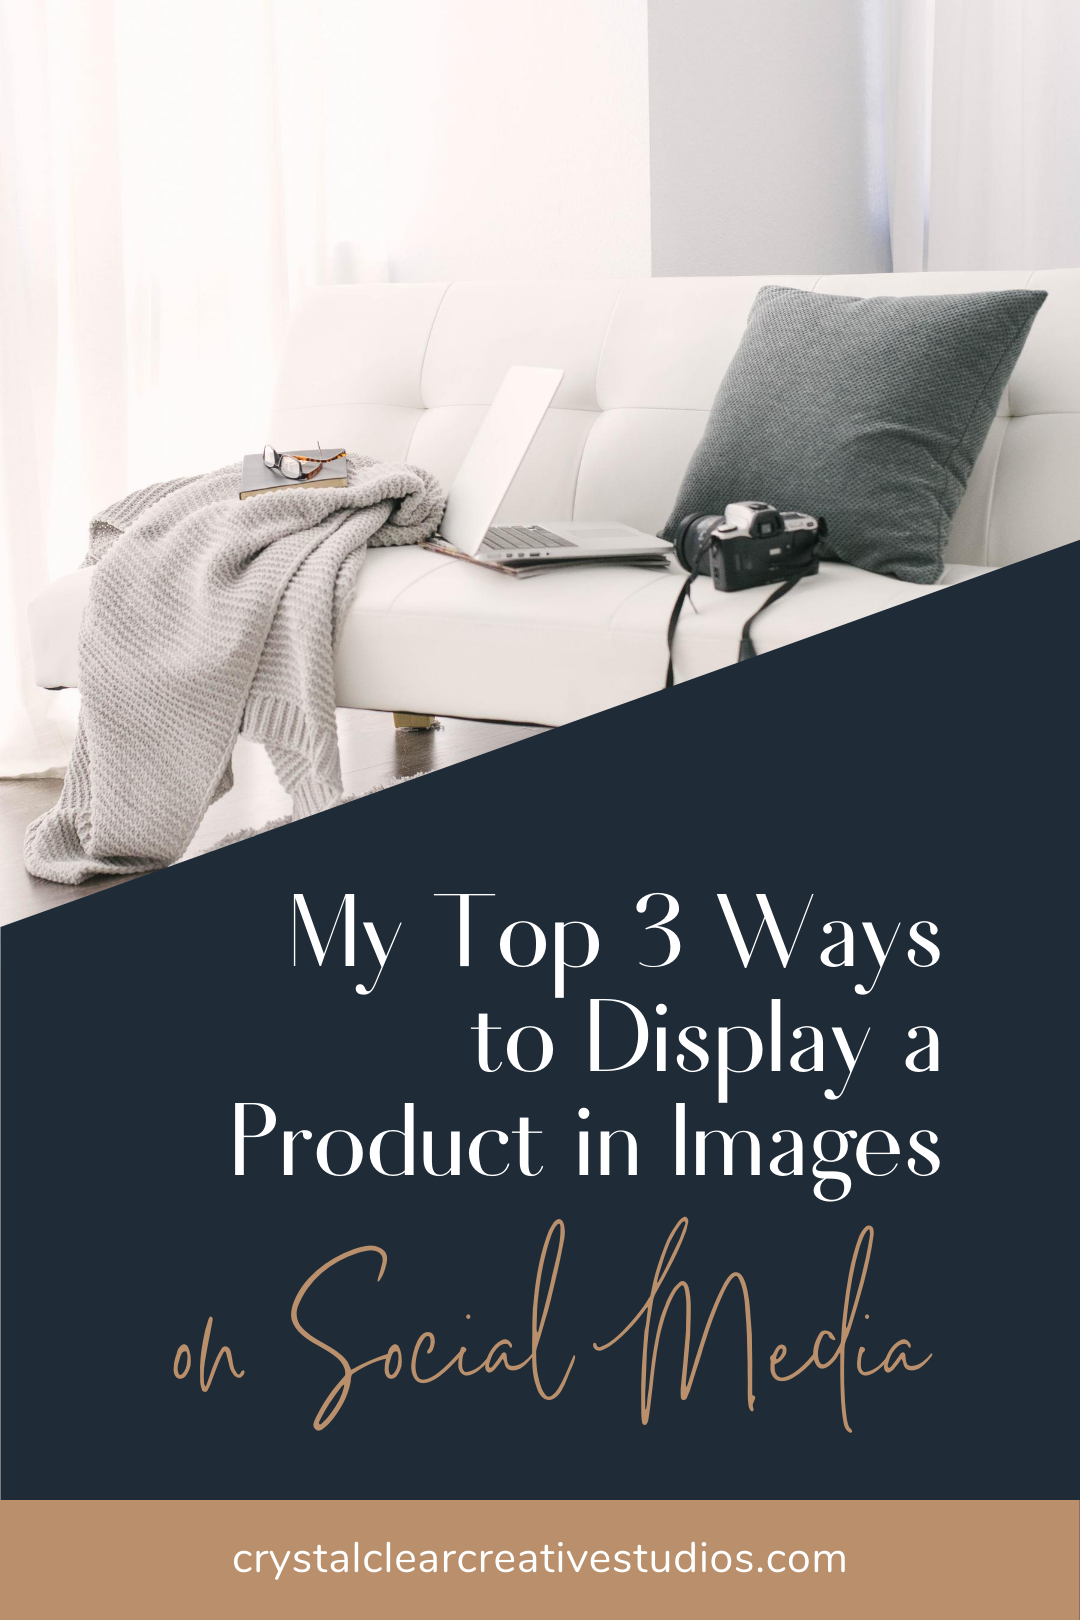
The third and most obvious way to display a product in your images for social media is with a Lifestyle Flat Lay. This is my favorite thing because it gives you an aerial shot of your product in its entirety.
A solid and well-planned flat lay is great to show texture, the application process, and a variety of tools and supporting items that your ideal customer might find. A flat lay helps them see the product in a way that they would use it on-the-go or at home, bringing it into their real-life spade. If you really want to stretch your creativity and stand out you can use lots of fun paper cut-outs, blocks, flowers and other props for an artistic flat lay that pulls that editorial, high end, commercial look.
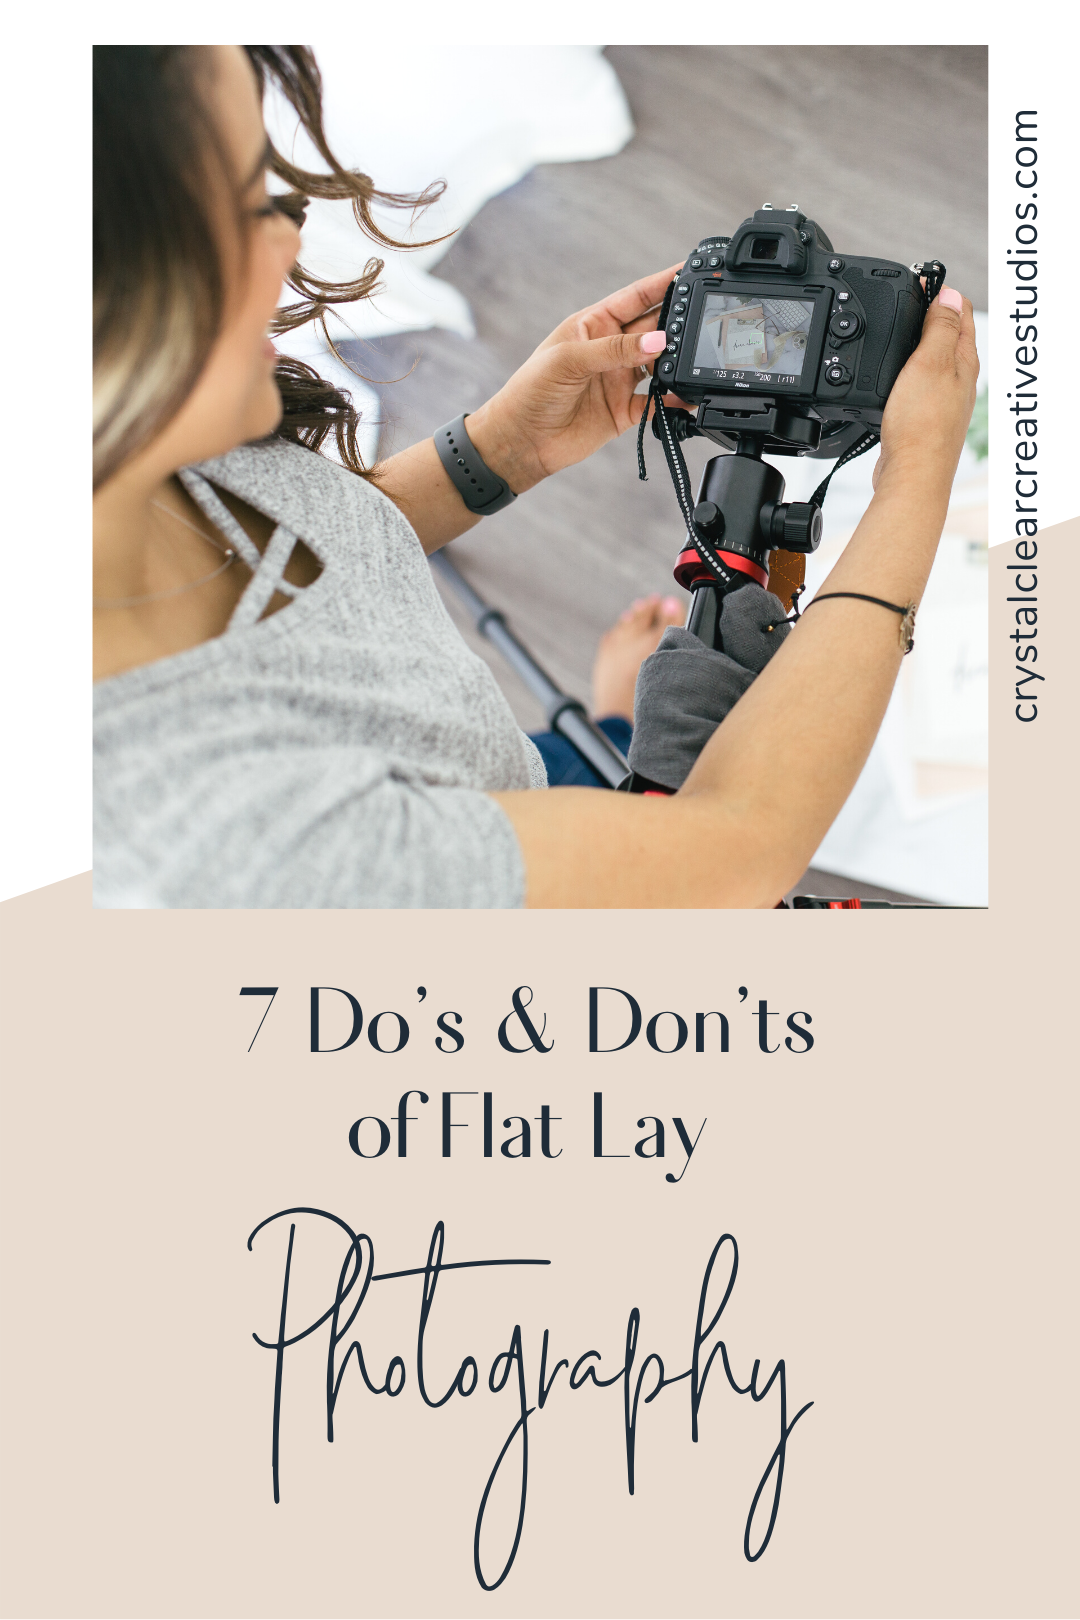
Flat lay photography can be a lot of fun, but to get the best results, there are a few things to consider. Check out my list of 7 do’s and don’ts for flat lay photography to help you slay the flat lay.
Conclusion
There are many ways to display your product in an image for social media. Plan and implement a strategy before you move forward with the entire shoot. Time is valuable as a business owner so you want to be sure that you’re utilizing it as best as you can.
Like anything in life, it takes time to nail the perfect flat lay or product photo so remember to be patient with yourself and to have fun with it. Experiment with different props and colors (related to your brand, of course) and see what works best, what looks good, and what fits your brand. If you think you need some extra help putting together the perfect flat lay, check out my Flat Lay Method Course. I cover the basics of what it takes to make the perfect, Insta-worth images. You can also schedule a call with me if you have any questions or we can connect on Instagram!
Share this post:
Recent Posts:
About Crystal

Crystal is the Creative Director, Photo Stylist, and Commercial Photographer behind Crystal Clear Creative Studios. From increased sales, visibility, and trends to conversions and full production, Crystal and her team, experts on the subject matter, provide clients with confidence to take your photography and videography needs off your plate. We support you in your growth with the creation and implementation of transformative ideas.