The Blog
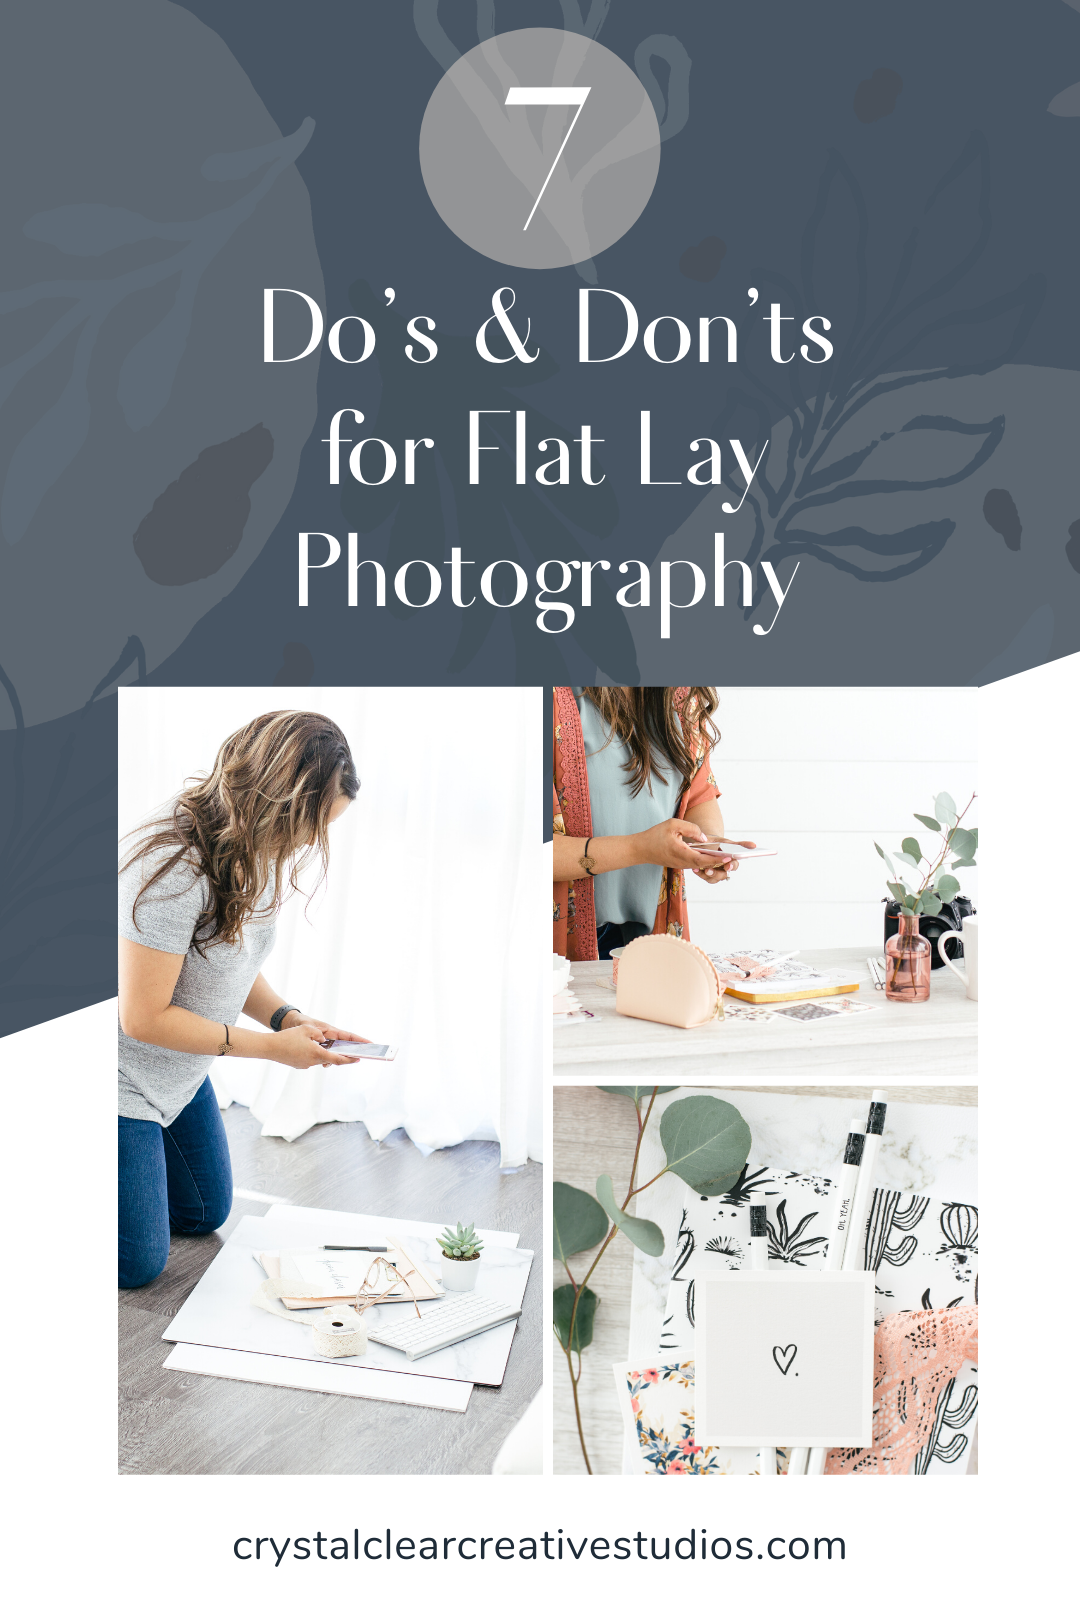
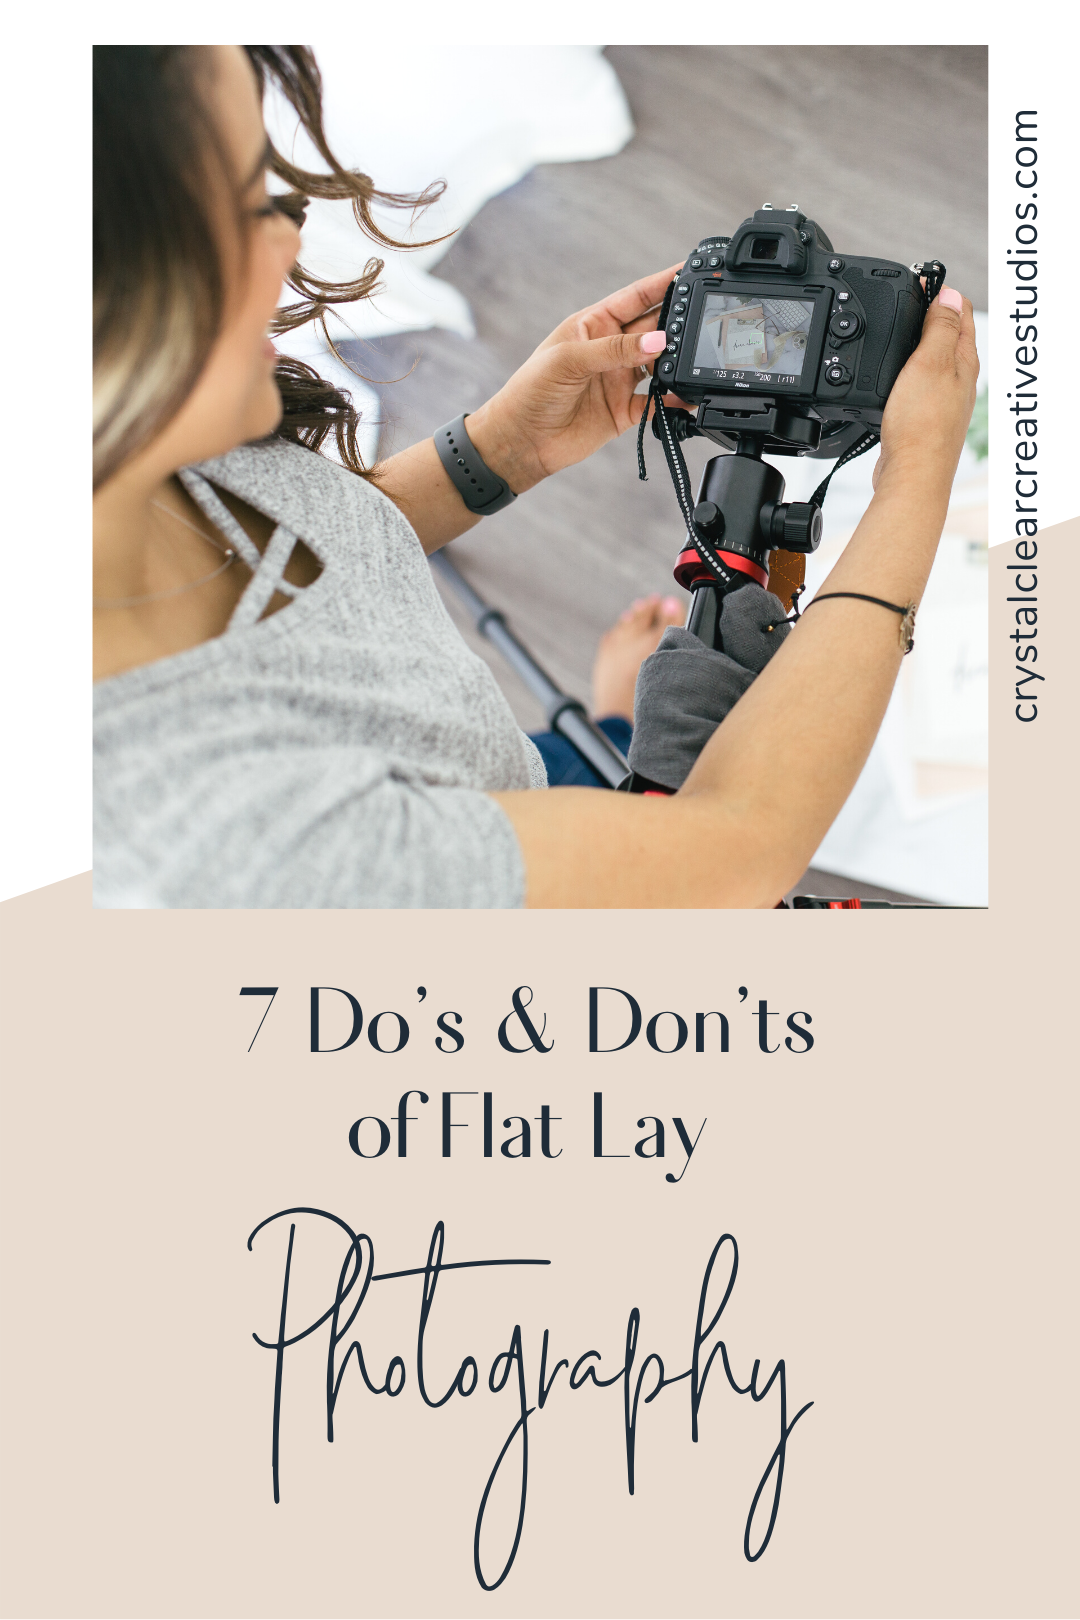
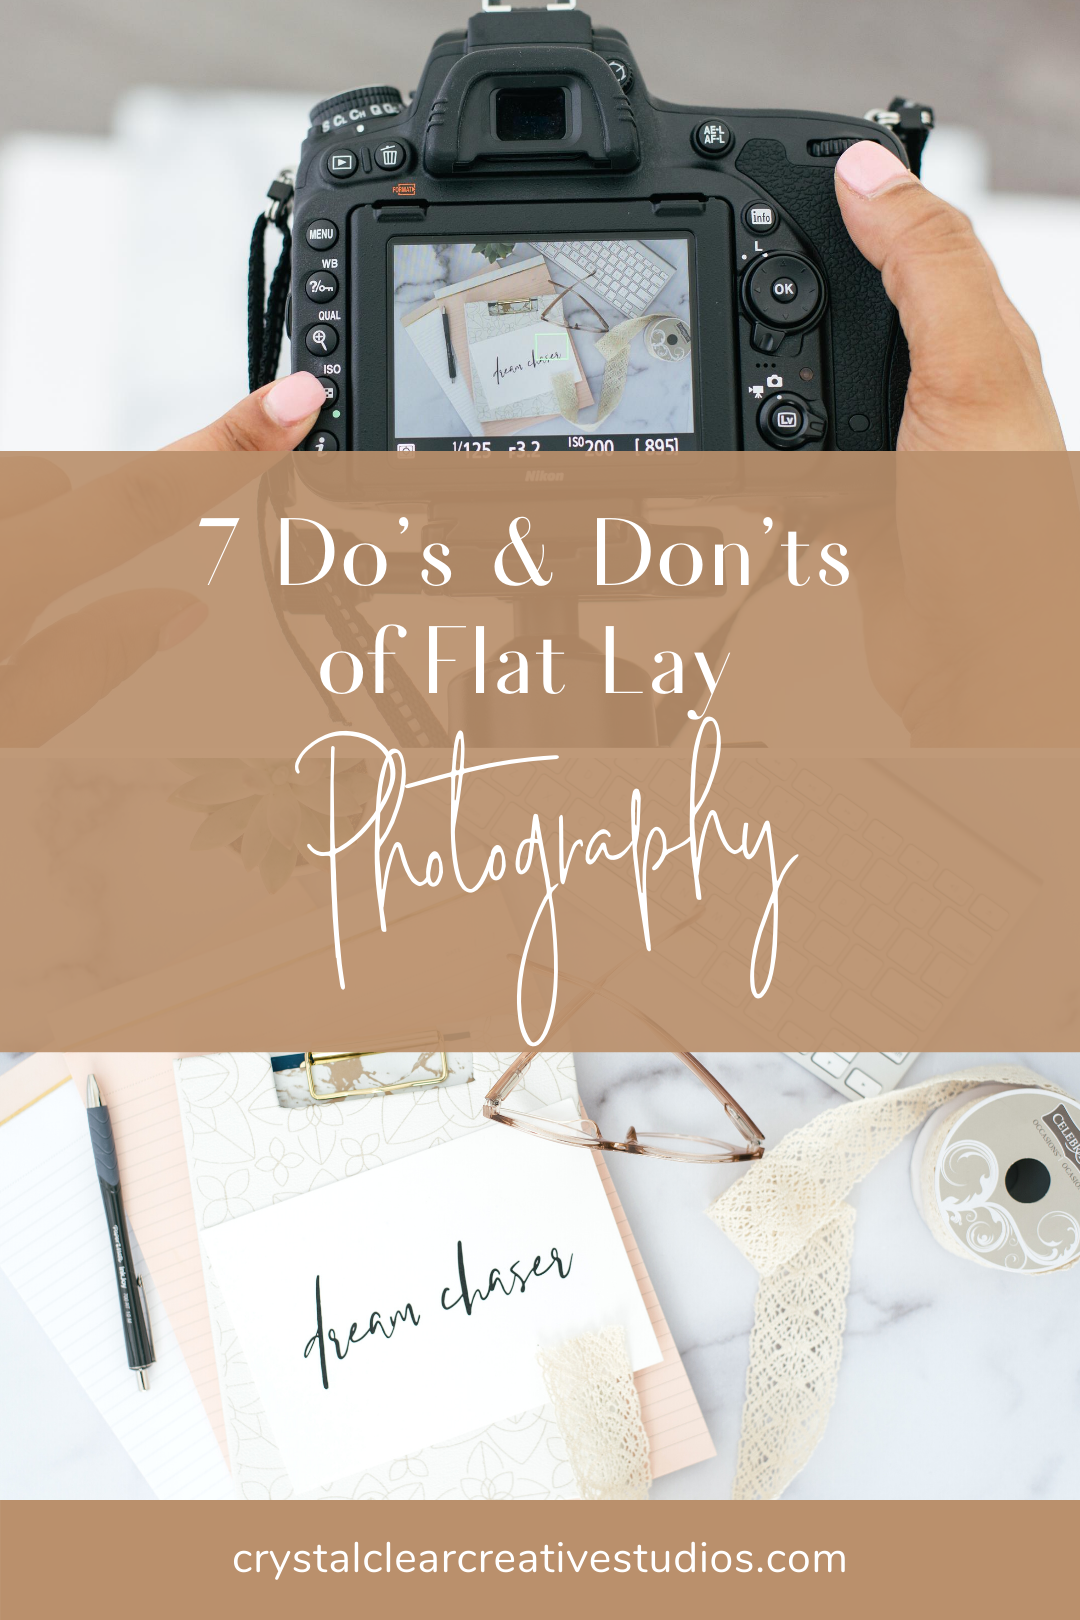
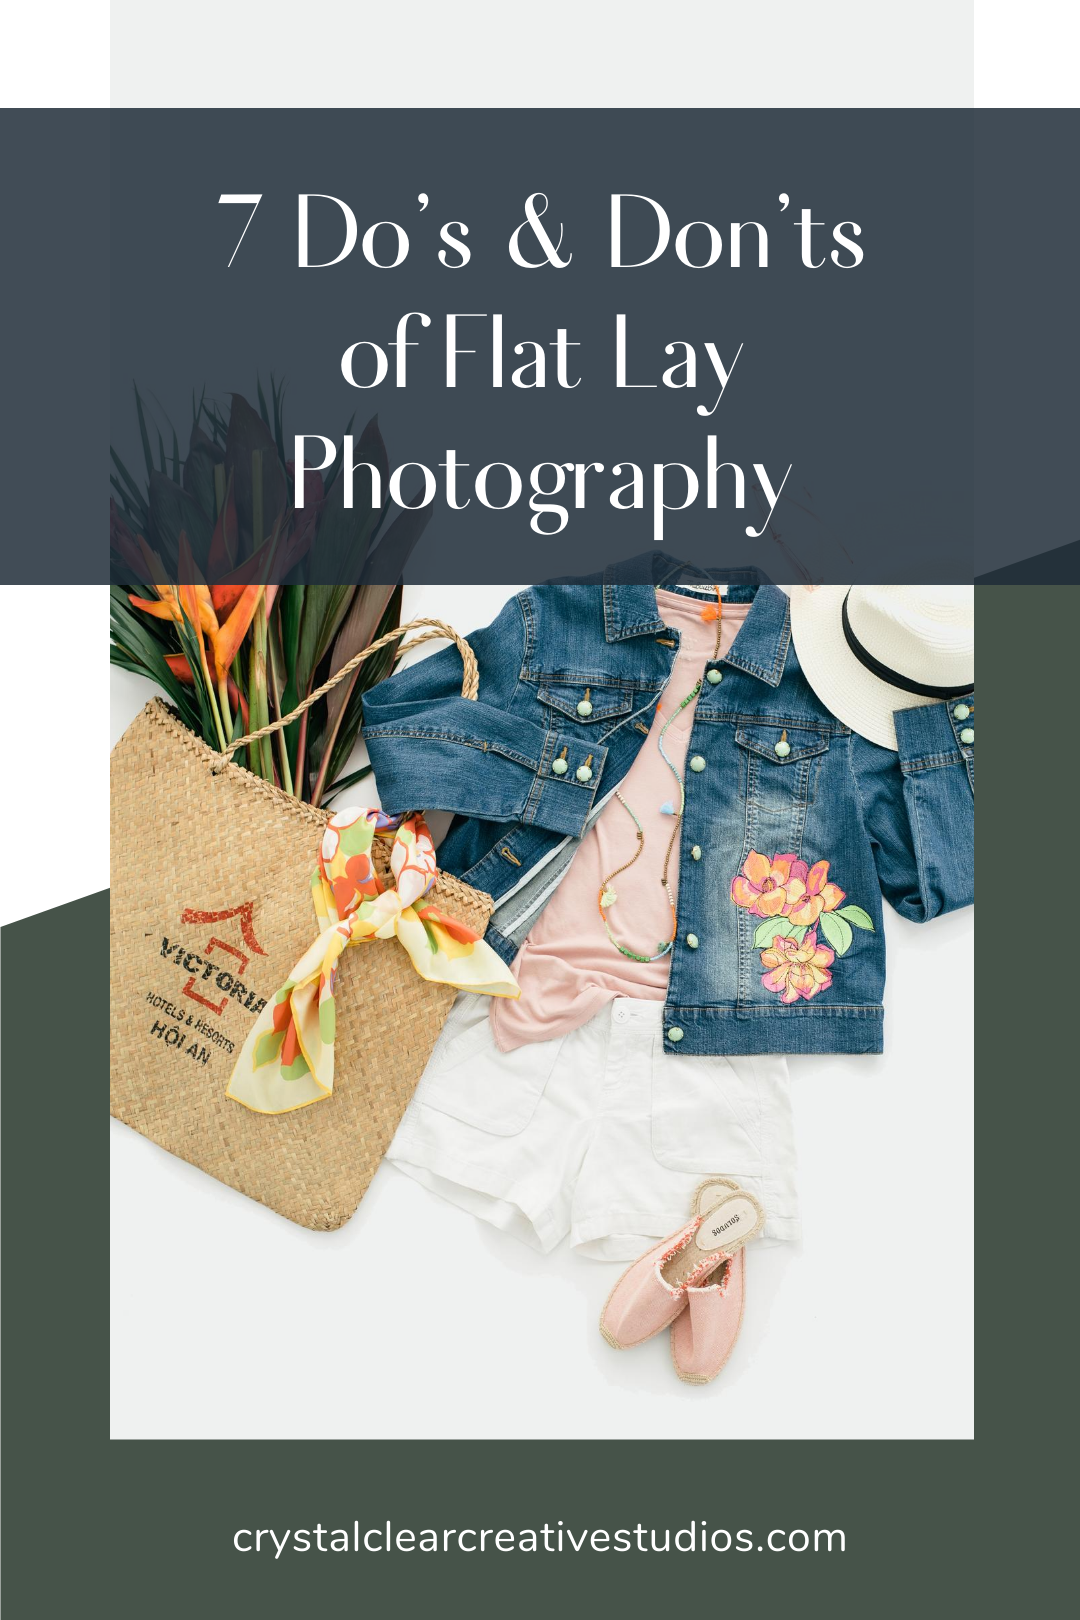
The 7 Do’s and Don’ts of Flat-Lay Photography

Flat lay photography is the fastest growing type of photograph for the product based business.
W
e have all seen those Instagram posts of the seemingly perfect, birds-eye view of a product surrounded by carefully curated props.
Flat-lay photography is a unique and appealing way to showcase your products without having to travel far for the perfect picture. But like anything in business, there’s a strategy to consider before you take your flat-lay photos.
Creating the perfect flat-lay takes more time than you think. Essentially you’re creating a photo that looks like you came across your product naturally. So here are 7 do’s and don’ts for creating the perfect flat-lay.
1 – Have Fun with the Colors
Do have fun with the colors in your photo. It’s one of the first things you notice about a picture, so don’t be afraid to experiment a little. Think about the visual story and the feelings you’re trying to evoke.
Don’t forget to balance the colors. You want everything in your flat-lay to flow together. Avoid using too much of one color, spread it out evenly, and stay on brand. When in doubt, stick to a similar palette when choosing your colors.
2 – Focus on Your Main Product
Do focus on your main product. Remember the reason you are taking the photo. What makes your product different from the competition? Showcase any unique details and focus on any interesting characteristics you want your customers to notice.
Don’t forget to make sure it’s not overshadowed. Arrange any additional props accordingly, but make sure the customer can tell the product apart from the rest. The last thing you want is your audience to be confused about what you’re selling.
3 – Add Variety
Do add variety in your props. The purpose of your flat-lay is to create a visual story in the most natural way. Consider where your ideal customer will use your product. What kind of items will you find nearby? Utilize your props to add depth to the image and have fun with it! Move things around until you find the perfectly imperfect shot.
Don’t forget to add texture. Using different colors, lights, and shadows all help tell your product’s visual story. The lighting alone can add more depth and create a three-dimensional feel. You can also use props with varying textures that can make the overall photo feel tangible and real.
4 – Use Balanced Lighting
Do strive for balanced lighting and soft shadows. While it is alright to have light and dark spots in the picture, try to keep it as balanced and as soft as possible. A flat-lay isn’t a good image for a spotlight with a lot of dark space.
Don’t forget shadows. Too much shadow in your picture can cause the image to get lost, but a little shadow adds natural depth and appeal. You can play around with your props and create shadows in the image that highlight your product in new ways.
5 – Shoot at the Same Time, Every Time
Do shoot any image at the same time of the day, every time. Consistency is key for any photoshoot. However, maintaining the same lighting across the board is extremely important for every image. Once you decide where to shoot the photo, utilize the natural light as best as you can to keep your photos consistent.
Don’t forget that you can shoot outside. Maybe your home or studio doesn’t have a lot of natural light. Instead, set up your flat-lay on an outdoor table. Be sure to have the right settings on your camera to avoid dark or blown out photos. To learn more tips on how to keep your photos consistent, check out my blog post here.
6 – Use White Space
Do give yourself ample empty or white space. Keep in mind, the style that you’re going for. Empty or white space can create powerful images if used correctly. Less is more and utilizing the space allows the eye to flow easily from each part of your photo before resting on your product.
Don’t photograph your photos in a square. While a square shape can seem great for a symmetrical flat-lay, you want to be able to repurpose your image for many different formats. It’s also better to have options for future content purposes.
7 – Get Closer
Do get closer to the product. Most images feel off or not put together because you have made the shot tighter by bringing in the props and closing up some of the white space. Spread things out, back your camera up, and let the white space do the work.
Don’t forget to play around. Your first shot might not work out, so take a lot of them! Move props around, take some props out, and add new ones in. Take a picture you feel showcases your product the best.
Flat-lay photography is a skill in itself. Arranging props to look like you happened across your product on a normal day can take some practice and lots of repetition. But keep these tips in mind as you go along. It doesn’t need to be complicated. However, if you feel that you struggle with curating photos for your business, check out my Flat-Lay Method Course. This course is designed for the DIY business owner looking to develop a process around flat-lay photography. You’ll learn things like camera basics and flat-lay setups. For more information, you can contact me here or we can chat on Instagram!
Share this post:
Recent Posts:
About Crystal

Crystal is the Creative Director, Photo Stylist, and Commercial Photographer behind Crystal Clear Creative Studios. From increased sales, visibility, and trends to conversions and full production, Crystal and her team, experts on the subject matter, provide clients with confidence to take your photography and videography needs off your plate. We support you in your growth with the creation and implementation of transformative ideas.
0 Comments