Click here to keep up with the latest marketing trends and resources!

Uncorked Copywriting with Kaitlyn Parker

Uncorked Copywriting with Kaitlyn Parker

Uncorked Copywriting with Kaitlyn Parker

Welcome to the Crystal Clear Podcast where we strive to empower the everyday creative boss to elevate and grow a business that matches your creativity and passion for creating products.


Things mentioned in this podcast episode:


Kaitlyn Parker of Copy Uncorked joins me on the podcast today to talk about all things copywriting. She chats about the disconnects commonly found in copywriting for a brand and shares with us some tips on writing social media captions. She gives insight into gaining inspiration for your brand and copy and tips on how to stand out from your competitors.

Meet Kaitlyn:


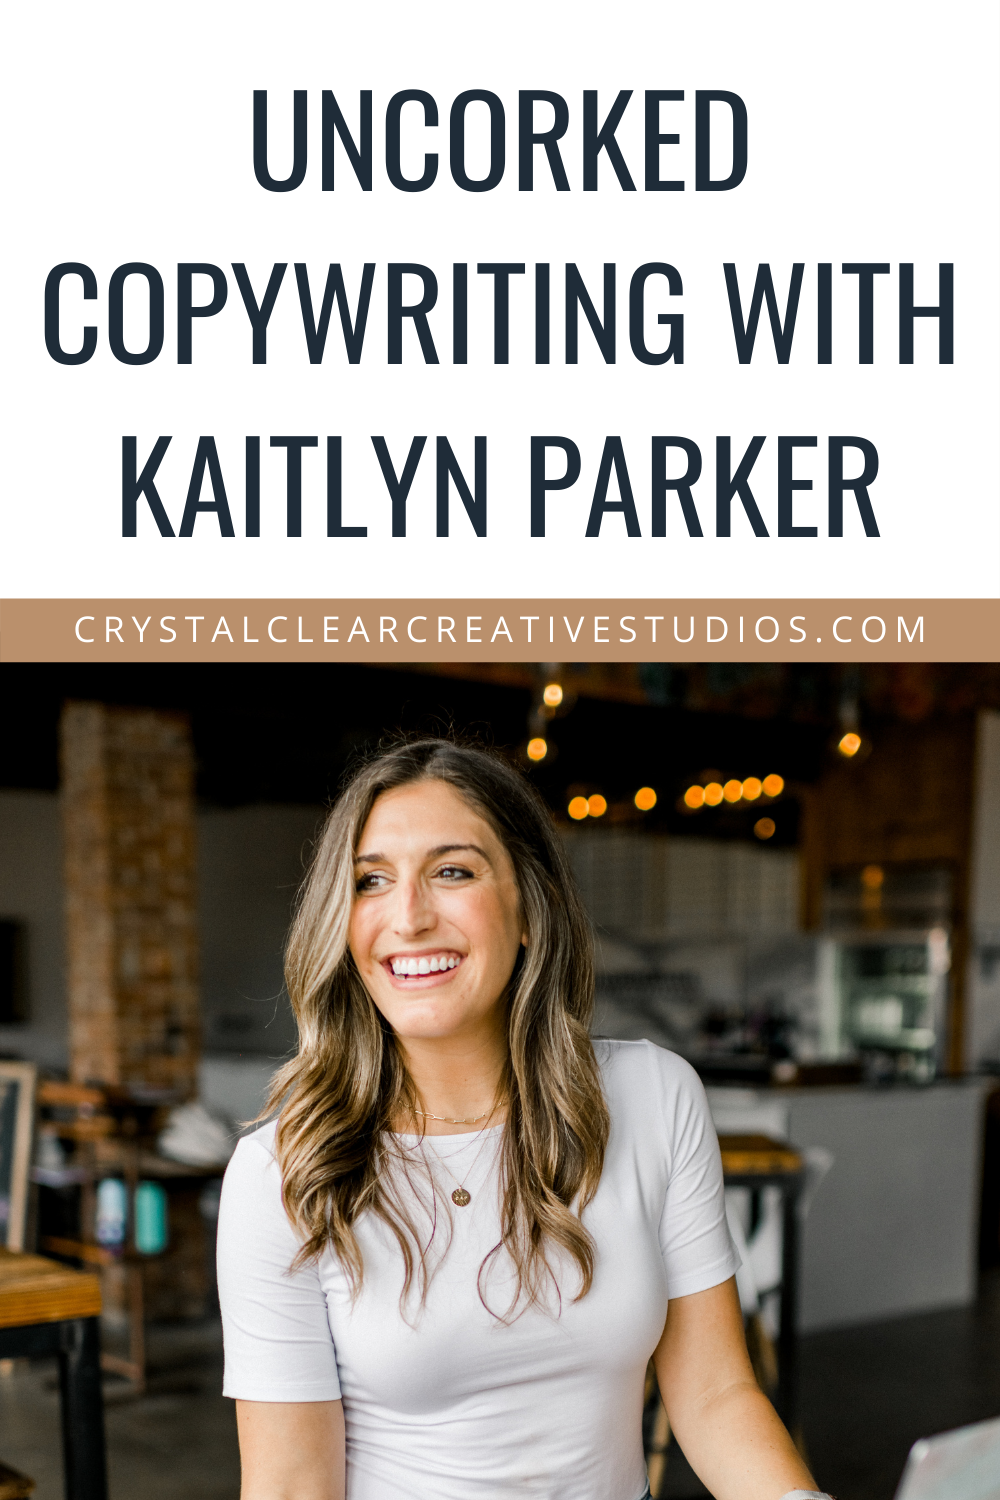
Kaitlyn Hiltz Parker is the founder, copywriter, and wine enthusiast behind Copy Uncorked – a copywriting and brand strategy studio pouring up high-converting words for modern brands and creative entrepreneurs.

Based in Virginia Beach, Virginia, Kaitlyn holds a Master’s in Strategic Communications and has worked with over 100 clients worldwide in her 6+ years of industry experience. Between keyboard strokes, she enjoys spending time alongside her tall, dark & handsome husband and mini Goldendoodle, where there’s usually a body of water, great food, and a glass of Cab involved. Connect with Kaitlyn on Instagram @copyuncorked or explore the current offerings and resources at copyuncorked.com.

Things mentioned in this episode:


  • Kaitlyn shares about Copy Uncorked and the story behind her brand
  • The 2 biggest disconnects commonly found in brand copywriting
  • Tips on mastering your social media captions and where to look for brand inspiration in order to help you stand out from the crowd
  • Advice on getting started with connecting brand voice and brand message?

If you’d like to learn more about Kaitlyn, head over to Instagram to follow her and check out all her resources on her website!

Connect with Kaitlyn:


Like this episode?

Comment, share on Pinterest, or even snap a screenshot and tag me on Instagram! I’d love to hear what you think about props for product photography.

Keep Listening

About Crystal

Crystal is the Creative Director, Photo Stylist, and Commercial Photographer behind Crystal Clear Creative Studios. From increased sales, visibility, and trends to conversions and full production, Crystal and her team, experts on the subject matter, provide clients with confidence to take your photography and videography needs off your plate. We support you in your growth with the creation and implementation of transformative ideas.

Recent Episodes

Categories

Search the Podcast

Making the Most of Your Photoshoots

Making the Most of Your Photoshoots

Making the Most of Your Photoshoots

Welcome to the Crystal Clear Podcast where we strive to empower the everyday creative boss to elevate and grow a business that matches your creativity and passion for creating products.


Things mentioned in this podcast episode:


We need more content and we need it NOW!! Did anyone else chant while reading that? Because I can just hear the chanting and applause as businesses are amping up for the year. One way to create more content is through photoshoots. In this episode, I am going to highlight how to make the most out of your photoshoots. Now you may be asking… How do I make the most out of my photoshoot, Crystal? Efficiency, that’s how. Anyone that works with me, clients, models, and associates, will all tell you that I am all about being as efficient as possible during a photoshoot. I am going to share with you my tips & tricks on how I achieve efficiency during my shoots.

Two ways to make the most of your photoshoots this year:


  • Plan out your shoot efficiently. Start with getting down to the exact details of the shoot. This allows you to see everything you need for the shoot – props, backdrops, etc. prepared ahead of time so that during the shoot you get all of the shots you desire in an efficient amount of time. 

  • A done in a day approach. I borrowed this idea from my friends in the design space where they offer day long intensives or hire me for a day for a project. This is a fun way to have one whole day focused on your product and your business to get as many assets as possible during that timeframe – photos, models, videos, etc. It is important to set the expectations for the day. 

    When you are planning your shoots efficiently this allows for you to get all of the content you need to be able to market your business and product. It also allows for you to have the time to add extra elements during the shoot that will uplevel your images because you already have a plan and aren’t scrambling to try and remember everything you need to accomplish. 

    If you are a photographer, I hope these tips will help you to plan your shoots more efficiently in the future. If you are a business owner, I hope these tips will help you know how you can get the most bang for your buck when using a photographer to get content for your business.

    If you know your efforts are better spent in other areas of your business and planning out your photoshoots isn’t something you are wanting to do. I recommend reaching out and getting more information about a photography retainer. With my clients, I offer monthly, bi-monthly and quarterly retainers where I help to plan out all of your shoots to ensure that you get the images you desire for your product.

Like this episode?

Comment, share on Pinterest, or even snap a screenshot and tag me on Instagram! I’d love to hear what you think about props for product photography.

Keep Listening

About Crystal

Corporate America had me at hello for 10 years. And just when I thought I was where I was supposed to be, God changed the narrative and helped me find more time for my husband and two beautiful girls through my own photography business. Now, I live for all things styled photography and serving the business community exclusively through styled imagery and personal brand photography.

Recent Episodes

Categories

Search the Podcast

Your Brand Story and the Role Images Play in Storytelling

Your Brand Story and the Role Images Play in Storytelling

The Blog

Your Brand Story and the Role Images Play in Storytelling

Your Brand Story and the Role Images Play

Every successful business has developed and shared its story in a way that their audience can relate to.

A 

brand story is how you build strong, emotional connections with your ideal audience. Your products are an addition to that. You may create unique products, but what people are really buying into is the story you put out into the world. It’s what your customers resonate with most and why they become loyal to you and your brand over time.

Build the Foundation 

Your brand story is what builds the foundation of your business. It’s what helps your ideal audience understand who you are, what you do, what you stand for, and why they should choose you. Your story is what they care about most and why they, ultimately, buy from you. Share the most authentic pieces of your story that people can relate to and care about.


Every story has a beginning, middle, and end. Your brand story is no different. The beginning is where you want to be clear. Who is this story for? The middle is where you address the problems and struggles your audience may have. And, the end is how you can help.


Your customers are the main characters of the story. You want to give them a visual example of where they fit into your brand. They need to be able to see themselves and their problems answered with the help of your product.


How you want your audience to feel when they come across your brand should be incorporated into your designs, logos, color palettes, and packaging.

Where Your Photos Come In

Using your product images to help tell your brand story is the easiest way to deepen the connection with your audience. Specific elements like models or props are a great way for you to make your brand more relatable.


I’ve said it before, and I’ll say it again – people relate to people. The types of models you use, how they interact with your products, what they’re wearing – everything goes back to your brand story, and what it represents. When you know your ideal customer and understand their journey, it’s easier for you to create the right images that resonate with them most.


If you outsource your product photography, connect with someone who understands your story and how you want to share it. If you struggle to communicate your product photo ideas to your photographer, I cover everything you need to know here.


Your images should show how your products solve your customer’s problems. Use your photos as a way to capture how they make people feel, what it can do to help make life easier, etc. There’s a lot of power in visual storytelling. Share yours in a way that captivates your audience.

Conclusion 

Every piece of your brand story (the good and the bad) needs to be told. It’s the not-so-glamorous parts that your audience will most likely relate to. How can you incorporate that into your visuals? Create solutions through your photos. Your brand story should show how you can help others solve their biggest problems and why you are the person who can solve it. Your audience wants to feel understood. Sharing every aspect of your story with them builds trust and stronger relationships.


If you want to reevaluate your offer or go back to some of the necessary steps because your company is brand new, then let’s talk. The Creative Boss Society is where I’m teaching other creatives how to use methods that I have applied in my brand and business to grow. I will help you get straight to the strategy that is working for you. Let me know if you have any questions. I’d love to help! You can also find me on Instagram.

Share this post:

Recent Posts:

About Crystal


Crystal is the Creative Director, Photo Stylist, and Commercial Photographer behind Crystal Clear Creative Studios. From increased sales, visibility, and trends to conversions and full production, Crystal and her team, experts on the subject matter, provide clients with confidence to take your photography and videography needs off your plate. We support you in your growth with the creation and implementation of transformative ideas.

The Best Digital Journey for Your Photos (From SD Card to Social Media)

The Best Digital Journey for Your Photos (From SD Card to Social Media)

The Blog

The Best Digital Journey for Your Photos (From SD Card to Social Media)

The digital journey for my photos is just as important as the photography shoot itself.

O

nce I’ve taken the images that I need, the next steps I take determines how they’re going to look on my websites, social media platforms, client websites, etc. Here’s what works best for me that might work best for you. Learn the best digital journey for your photos from the tips I recommend all my clients.

The Uploading Process


There are several ways to upload and share your photos to your computer. Depending on the file size and how many images you have, you may need bigger cloud storage like DropBox or Google Drive. If you’ve outsourced your product photography to a professional, this will most likely be how they will share your photos with you. The sharing feature makes it easier for you to get your shots without diminishing the quality. Using additional storage also helps keep your computer free from too many files on the desktop. iCloud is another great option to use if you’re taking your product photos yourself.


I prefer to use Lexar Professional SD Cards they are generally more reliable and come in a larger size so they fit well for someone who likes to snap a lot in one sitting. I insert my SD Card straight into my computer, where I can immediately upload the raw files into the cloud storage. I avoid uploading the photos directly to my computer because I take so many, and it could fill up space on my Mac desktop quickly. 


Best Photo Editing Programs


Some of the best photo editing programs to use are Lightroom (my personal favorite!) and Photoshop. Both have a learning curve if it’s your first time using the program, but photo editing is what takes your photos to the next level. Lightroom is easier to master and is geared more towards bloggers AND photographers, which is why I like it so much. Its a quick easy adjustment to the light, hence its name. Lightroom allows for all the presets we love but also to get that light and bright look that I love! But even as a beginner, it’s a great tool to learn and use. Tons of pro photographers use it as a primary editing tool.


If you’re taking your own product photos, I’ve created some simple presets you can use to add the finishing touches and maintain consistency. They’re geared to be similar to my style but also to help with adjustments fitting flat lays or products. So whether you’re on the go with the mobile Lightroom app or working from home on the LR desktop, the CCP Presets gives you the basics guide for the presets and installation. I even added in a quick video to give you tips on what you can adjust based on what color or light setting you might want to change.


What Not To Do

Some things to avoid when it comes to your product photography are taking screenshots and saving smaller versions of the file to your computer. You also don’t want to download it to your phone and then use that size to upload it to your website. Your phone is meant to auto-size in some cases so you can end up with a low quality image that way. At the end both screenshots and smaller versions you save to your phone can diminish the quality of the original image, leaving you with a blurry photo. Although it’s easier and more convenient to do, it’s not worth it. Never use any but the original or edited photo on your social media or websites. It looks extremely unprofessional.


File Formats To Save Your Photos In


The best file formats to save your photos are JPG and PNG, this is key when you are exporting them from Lightroom or Photoshop. When you’re shooting in a camera you want to make sure to save your files in a RAW file format, this tends to keep a lot more information stored from the image and gives you better editing ranges when it comes to light and color. The RAW file will leave you with more information to work with when editing, and you’re less likely to diminish the quality of the picture in the process. You can also recover more than you can with a standard jpeg. That just means if you’re looking to add more light where the image is darker then you won’t have as good a chance at recovering that if the file isn’t a RAW file. However, you cannot share the files until they’ve been post-processed in a photography program like Lightroom or Photoshop.


JPG and PNG are ready-made images that almost all social platforms accept. You can share these easily and have more room to store your photos since they take up less data. However, when you edit and resize them repeatedly, the image quality begins to degrade, leaving you with a blurry image. To avoid that make sure to always copy from the original file or jpeg to avoid that.


Conclusion


Once your photos are edited and ready to go, it’s time to upload them to your website and social media. The digital journey is a process that takes some work, but the results can end up in more sales and a loyal following. If you need help with any of these steps, send me a message, and I can help. We can also chat on Instagram!


Share this post:

Recent Posts:

About Crystal


Crystal is the Creative Director, Photo Stylist, and Commercial Photographer behind Crystal Clear Creative Studios. From increased sales, visibility, and trends to conversions and full production, Crystal and her team, experts on the subject matter, provide clients with confidence to take your photography and videography needs off your plate. We support you in your growth with the creation and implementation of transformative ideas.

5 Steps to Take a Good Picture on the Fly

5 Steps to Take a Good Picture on the Fly

The Blog

5 Steps to Take a Good Picture on the Fly

A photo op comes up, but you don’t feel prepared. What should you do?

S

hould you not take the photo in case it turns out bad? Of course not! Assess the situation, make a few crucial photography decisions, and then take your shot. Taking a great picture on the fly doesn’t have to be so tough.


Practice in your free time to prepare yourself for the moment you have to take a good picture on the fly. When you know the problems that could come up, it will be easier for you to readjust and make it work. In the meantime, here are 5 steps to help you take great pictures confidently!


Evaluate Your Lighting


Face the light source closest to you – that’s the most powerful. When you have a broader light source, it creates a softer light in your image. This is because you have more light hitting your subject from multiple directions, which helps get rid of unwanted shadows.


Do focus on what it is you’re selling and use the lighting to highlight that. You can utilize your light sources in different ways, but always remember that your product is the main focus. Consider the mood and tone of your photo that you want to convey and make any lighting changes accordingly.


Don’t Stand in Front of the Window


Natural light is the best light, but just because the view outside is great doesn’t mean your photo will turn out great. When you stand in front of a window, you’re sure to darken your product or setup entirely, you can even cause a grainy photo from the auto-light adjustments your phone will make. (Same goes for your camera!) Instead, rearrange your subject so that the light from the window highlights it. You can still use the natural light, but have the window behind you.


Don’t be afraid to move your subject or product around to see the results you end up with. As you go along, make some adjustments and keep snapping. Sometimes, you’d be surprised at what you end up with.


Check Quick Details


Nothing is more annoying than when you take a photo you love, only to realize later that the background was a mess with junk on the table, or the model carrying your product had dirty glasses. Check for little things that can take the attention away from your product. Do a quick sweep of the background to identify any items that you will need to move, rearrange, or take out completely.


Some things to look out for are dust, lint, scratches or other imperfections. This is where you might also see the wear and tear in items you might use often (if you can’t touch it up the best advice is, don’t use it). You might even notice weird wrinkles or finger prints on clear items. That just means it is important to take note and clean things up really well before you shoot. Less editing is better for your time!


Take Several Photos


It’s always better to have options to choose from, so take several photos of your product. No one wants to set up another photoshoot to capture a shot that could have easily be taken the first time.


Take more photos than you think you’ll need, but have a variety. Don’t keep taking the same one, from the same angle – change up the composition and exposure, get different angles, and capture different product details.


Sometimes a photo that you thought looked good when you shot it looks completely different when uploaded onto your computer. Other times, a photo you may not have liked when you took it can turn out to be your favorite one. The point is to take several photos of your product to leave yourself with options!


NOTE – Your camera’s focus can adjust mid-snap and cause you to miss an opportunity. Take multiple photos and give yourself options if you’re not a pro or as comfortable with your equipment.


Get Closer


The lenses on the phones are meant to be wide-angle, but if you’re doing a flat lay, you are better off getting in closer. Zooming in can diminish the photo’s quality. As you get closer to the product, fill the frame of the photo. Watch the outer corners to make sure you can’t see the end of the table that you’re shooting on.


When you physically get closer to your product, there are fewer distractions to draw the eye away.  It’s easier to capture the moment, the story, and the message you’re trying to send when you fill the frame. Don’t give your customers a second to question what exactly it is that you’re selling. You can still include other elements but focus in on your subject.


Conclusion


Next time you’re asked to take some photos on the fly, you’ll know what to do with these 5 tweaks. Be patient with yourself and keep making small changes each time you shoot new photos for your products.


You can learn more about how to fix your images with a freebie I’ve created for you here. You can also check out my blog post on the 3 ways to get the best lighting for your product photography. And if you ever need help planning your ideal product photoshoot or have any questions, we can schedule a consultation call to discuss your photoshoot needs. Otherwise, you can connect with me on Instagram for more photo fun!

Share this post:

Recent Posts:

About Crystal


Crystal is the Creative Director, Photo Stylist, and Commercial Photographer behind Crystal Clear Creative Studios. From increased sales, visibility, and trends to conversions and full production, Crystal and her team, experts on the subject matter, provide clients with confidence to take your photography and videography needs off your plate. We support you in your growth with the creation and implementation of transformative ideas.

error: Content is protected !!